


Outsiders Limited Set Review: Ranger
Shoot down the competition with deadly precision and aim for that 3-0 spot in draft!

Take Your Best Shot
The Pits is not a forgiving place for those who miss. Sharpen your arrowheads, fletch your best tails and take up position on the highest spire as Azalea, or lay the groundwork for your opponent’s demise as Riptide. As long as the job gets done, you’ll get paid. That’s all that matters here in The Pits.
Limited Ranking System
S - Tier
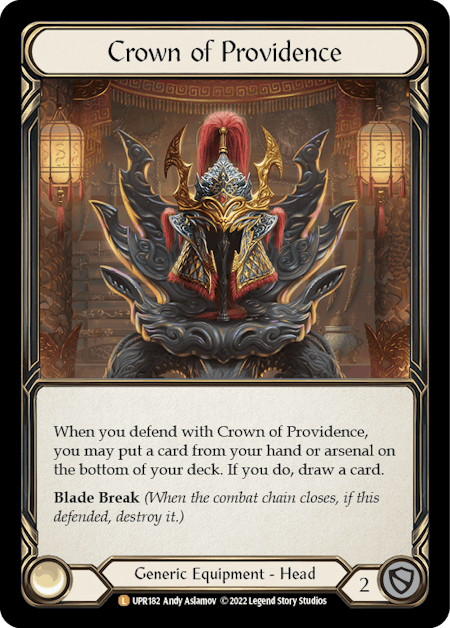
This tier belongs to the crème de la crème of cards in draft. Crown of Providence, Fyendal’s Fighting Spirit (R/Y) and Death Touch (R) are some examples of S-Tier cards.
A - Tier
First-pickable, powerful cards that help you stay open. Brothers in Arms (R), Blaze Headlong and Humble (R) are some examples of A-Tier cards.
B - Tier
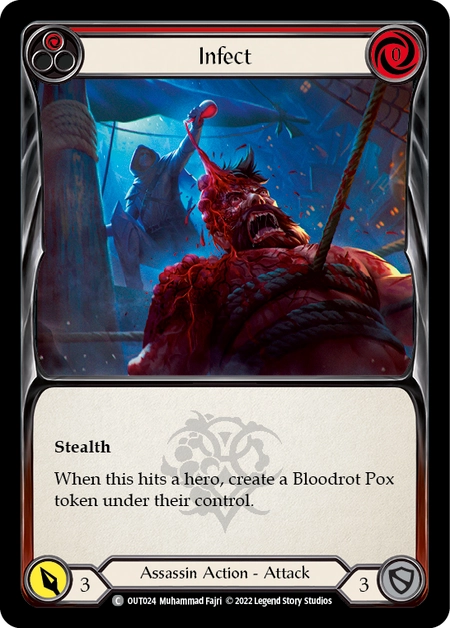
Usually serves as a signal when a class or hero is open in your seat. Key role-players in decks. Aether Icevein (R), Lava Burst and Infect (R) are some examples of B-Tier cards.
C - Tier
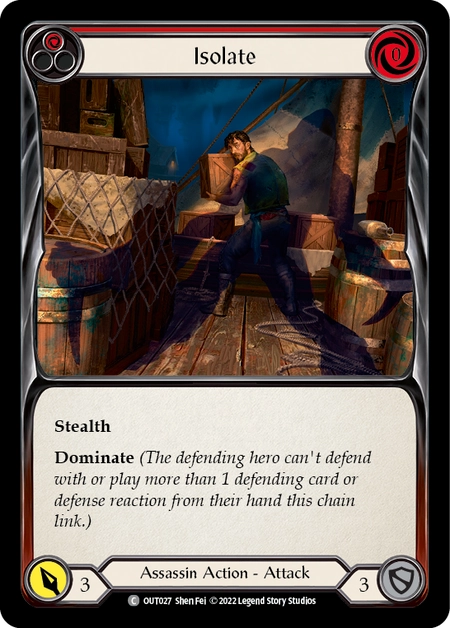
The ‘meat’ of most draft decks. Cards that are not particularly powerful but synergizes well with what your deck wants to do. Brand with Cinderclaw (R), Frosting (R/B) and Isolate (R/Y/B) are some examples of C-Tier cards.
D - Tier
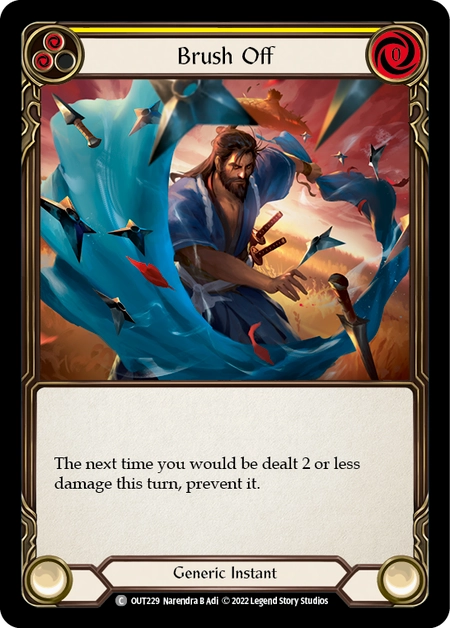
Niche cards that either fill very specific roles, or just downright filler. Often seen late into draft picks. Isenhowl Weathervane (R/Y/B), Transmorgrify (R/Y/B) and Brush Off (Y/B) are some examples of D-Tier cards.
E - Tier
Not much is needed to explain in this Tier of cards. These cards were probably designed with other formats in mind. Fog Down, Liquify and Toxicity are some examples of E-Tier cards.
F(rightmare) - Tier
This tier solely exists for Frightmare. Yay.
Meet the Rangers

In exchange for relying on the arsenal to play arrow attacks, rangers have access to some of the strongest on hits in this format. They are the second class with access to the Three Plagues (the first being Assassin) and they utilize them well.
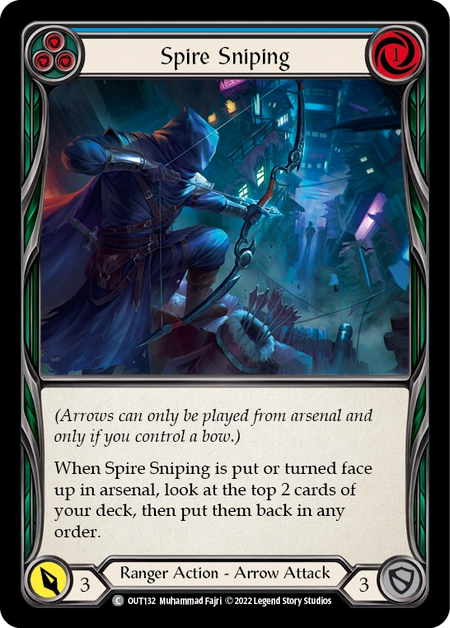
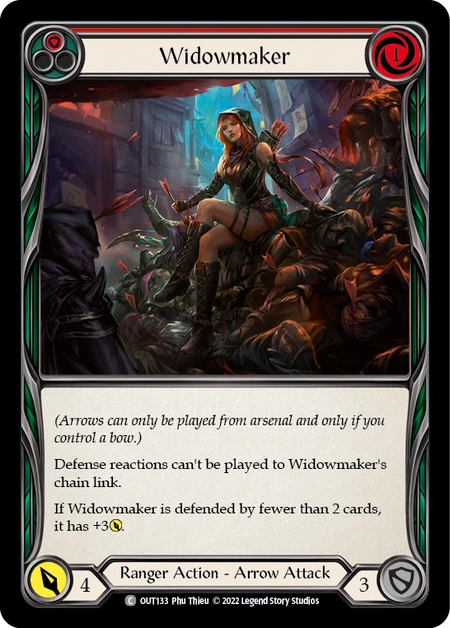
Azalea rewards an arrow-centric deck with Spire Sniping being her signpost common. Widowmaker is her ultimate pay-off, boasting above rate stats if the opponent only blocks with a single card, and is also immune to defense reactions.
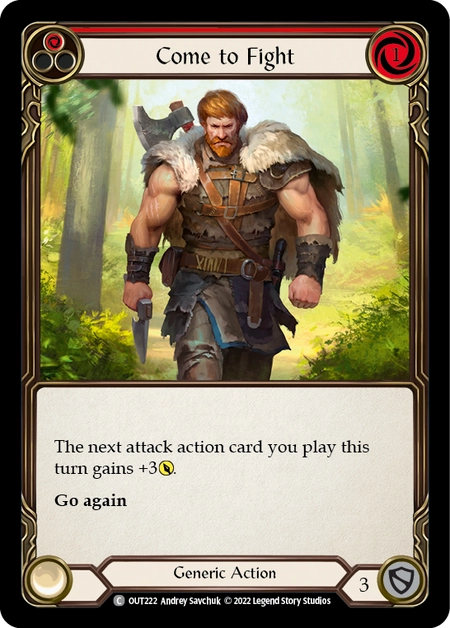
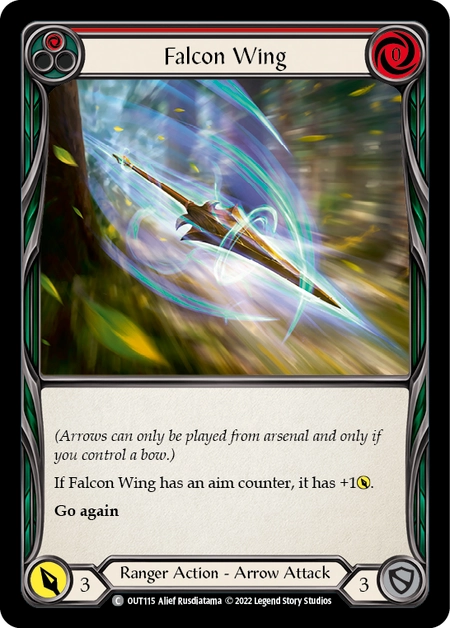
Riptide has the reload mechanic basically stapled onto his hero text box, allowing him to synergize well with action cards that have go again. Come to Fight and Falcon Wing are really powerful in Riptide, and traps provide additional value when they trigger.
No Scopes Required

Barbed Castaway is a decent bow that allows both rangers to utilize the aim counter mechanic in this set. For Riptide, the aim counter is more attainable with the Castaway, while Azalea relies more on Crow’s Nest to add aim counters to her arrows. Either way, aim counters are a great design for allowing rangers to sink additional resources into extra damage, just as their Assassin and Ninja counterparts are able to do with their weapons.

Bryan Gottlieb (set designer for Outsiders) once pointed out that “Quivers are the good kind of power creep we wish to see more often in Flesh and Blood,” and I am inclined to agree. It definitely made an impact on Azalea in the Classic Constructed scene, and also enhances her draft experience. Crow’s Nest works in conjunction with Azalea’s ability and allows her to utilize aim counters without needing to rely on Barbed Castaway as often. Riptide, on the other hand, has no issues utilizing Barbed Castaway to give arrows the aim counter. However, he does face issues when his arsenal is clogged with a card with no go again or stuck with a defense reaction that was not used the turn before. As such, Driftwood Quiver alleviates this problem once per game.
Legendary

Trench of Sunken Treasure - A-
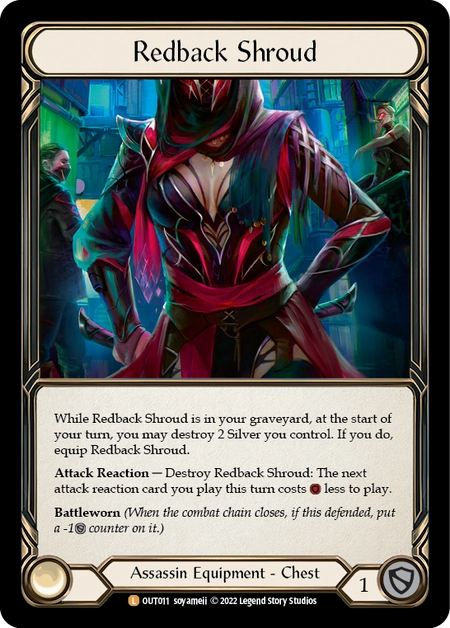
Finding this in your first pack is bound to give you the “shiver me timbres”… or something like that. I don’t know, I don’t speak pirate. Similar to the Redback Shroud discussed in my Assassin Limited Review, the Trench is first pickable, if not rather narrow. The Trench is exceptionally good in Riptide and mediocre at best in Azalea, so you’d best be on the lookout for Riptide cards if this is your first pick. I do think that Trench is slightly better than Shroud just because Riptide uses it to great effect in draft; you basically don’t have to worry about having your arsenal stuck for the rest of the game, and it blocks for 1 too.

Quiver of Abyssal Depths - B+
Despite being a Legendary, this quiver has some competition with the token quivers, especially Crow’s Nest, since it works so well with Azalea’s hero ability. However, in Riptide, this card could easily replace Driftwood Quiver since this quiver beats any deck that tries to fatigue you.
Majestic

Quiver of Rustling Leaves - D+
Crow’s Nest and Driftwood Quiver are just more relevant than Quiver of Rustling Leaves. There just isn’t many scenarios in draft where you’d want to pitch a blue to potentially add an arrow into your arsenal from the top of your deck. It could be a decent replacement for Driftwood Quiver, but I think its hard to justify running this over Crow’s Nest.

Amplifying Arrow - B
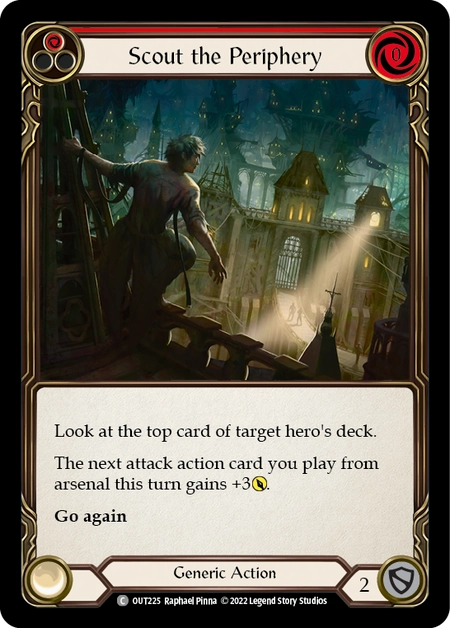
This card is certainly interesting in draft. It works super well with cards like Come to Fight, Scour the Periphery and Lace cycle of cards. You can basically “build your combo” with actions that pump power into an Azalea activation to give Amplifying Arrow dominate. At its base rate, a 0 for 2 arrow isn’t anything to write home about, so consider prioritizing pump cards if you do draft this Majestic.

Barbed Undertow - A
A 1 for 5 arrow attack is on rate. Add that with a powerful on hit with an aim counter, and you got one of the best ranger attacks in this set. This arrow pretty much has the ability to completely shut down your opponent’s turn if it hits with an aim counter. Taking this early in draft also keeps you open to both Azalea and Riptide.

Buzzsaw/Collapsing/Spike Pit Trap - (A-/A-/C+)
Riptide’s Majestic traps are extremely powerful in draft. Buzzsaw Trap hoses pump effects and attack reactions, making it a 2 for 1 trade in your favour. Collapsing Trap throws a huge wrench in your opponent’s plans by forcing them to discard their entire hand. While the A-tier is usually reserved for strong picks that keep you open in draft, I think their power level is just too good. Even if you don’t end up Riptide, drafting either of these traps means you won’t have to worry about playing against it! On the other hand, Spike Pit Trap is rather mediocre and its triggered ability is really only useful against Assassins (specifically great into Uzuri) and sometimes Ninjas.

Melting Point - A
The Ranger version of Come to Fight on steroids. For 1 resource, a +4 power and relevant on hit against Assassins and Ninjas on your next arrow attack provides so much value in limited. Not to mention, pumps synergize really well with both Azalea and Riptide, so first picking this card still affords flexibility of being able to choose between the two Ranger heroes. I’ll almost always pick this over other red Generics in a Pack 1 Pick 1 scenario.
Rare

Boulder Trap - C+
The triggered ability of this trap is easy enough to trigger, but its effect can be somewhat narrow in limited. Usually, players tend to draft 2-3 pieces of equipment, and equipment like the Seeker’s set do not have a block value. As such, the -1 defense counter might not matter in some games. However, if a yellow trap that can easily triggers Riptide’s ability is what you’re looking for, Boulder Trap rarely disappoints.

Pendulum Trap - D
Pendulum Trap’s effect is one of the hardest to trigger against any class other than Assassin. Though its effect is good, it is not as impactful. Even when you’re drafting Riptide, this trap ranks quite low on the pecking order.

Tarpit Trap - C
This is the easiest trap to trigger, and in a set with so many on hits, its effect is super relevant. Use this to block a Spider’s Bite attack or Arakni’s first stealth attack and potentially prevent on hits from triggering on the next stealth attack with on hit, or block a Kodachi and prevent Katsu or Benji’s hero abilities from triggering on the next attack action. It can also be used in ranger matchups where if you fully block a Ravenous Rabble or Falcon Wing, you can prevent the arrow with on hit after.

Fletch a Red/Yellow/Blue Tail - (A-/ B/C+)
The cycle of Fletches is basically Come to Fight with upsides and synergy with aim counters. The Red Tail is as first-pickable as Lace with Bloodrot, and Yellow Tail is kind of like a Come to Fight red that blocks for 2. The Blue Tail is good in the second cycle, since it makes your arrows significantly harder to block when your opponent has a higher chance of holding blues in hand while also turning your own blue arrows slightly stronger.

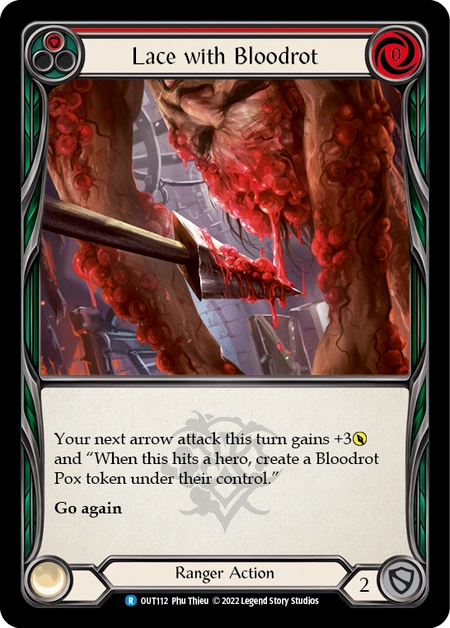
Lace with Bloodrot/Frailty/Inertia - (A-/B+/B-)
Buff effects are integral to the Rangers’ gameplan. Slap a relevant hit on top of a +3 attack buff and this cycle of cards becomes easily first-pickable. Intertia being the weakest of the three, it can sometimes disrupt turns if combined with a dominated arrow with Azalea. Frailty has uses against all heroes in limited, making it second best. Bloodrot basically adds 2 extra damage on hit, making it relevant at all stages of the game, so it’s the one to first pick if only albeit committal.
Common

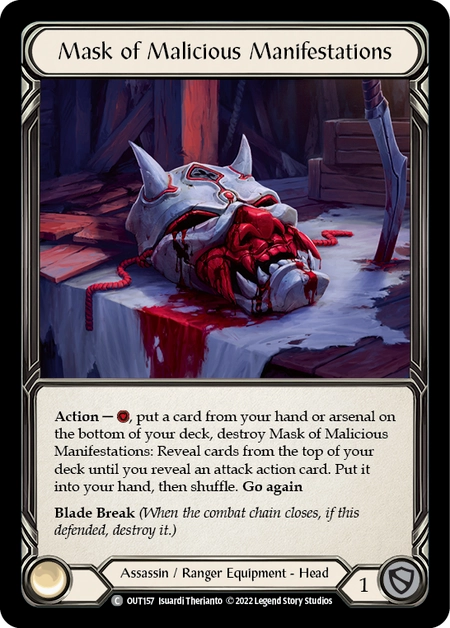
Wayfinder’s Crest - C
Equipment in this set isn’t very important, but Wayfinder’s Crest is a good enabler in Azalea. Getting information off the top of your deck can allow you to set up big dominate turns with arrows, all while blocking for 1 as well. In Riptide, I would prefer the Mask of Malicious Manifestations, but to be honest, they’re just glorified Ironrot Helms most of the time.

Falcon Wing - (C+/C/C-)
Go again in Riptide is really good. This card is a key role-player in Riptide Decks. Arsenaling a Falcon Wing sets up for another attack, making Riptide’s turns more efficient. Being the only arrow with go again in this set, prioritize this card early if you’re drafting Riptide. Not as good in Azalea, but serviceable, since its still an arrow.

Infecting Shot - (B-/C+/C-)
Also called the ‘Bloodrot Arrow’, Infecting shot has the strongest on hit of the three ‘on-hit’ arrows. The power of this arrow is quite evident. The yellow one is also very playable and could be picked early if you’re drafting ranger. Blues normally are taken as the last 5-6 cards in the pack, but still can pose a threat especially with an aim counter and given dominate with Azalea.

Murkmire Grapnel - (C/D-/D-)
Buffs and Laces work well with this arrow, since not being able to prevent damage limits opponent’s blocking options. The only problem is that this card alone doesn’t really do much. The other yellow and blue versions of Grapnel are average or below rate, so I wouldn’t really prioritize them too much. Still, they’re a decent attack if your hand is light on resources.

Sedation Shot - (C/C-/D+)
Inertia being the weakest disease of the three, this arrow can sometimes provide relevant disruption mostly against ranger opponents. The red is on rate, with a 1 for 5 or 2 for 6, the yellow is serviceable, while the blue usually serves as pitch or used as a block 3; mostly decent filler for any ranger deck.

Skybound Shot - (C/D/D-)
This card has similar problems with Murkmire Grapnel. No on hits, just a slightly above rate attack in red, average in yellow and slightly below rate in blue. Its the standard filler arrow for both Azalea and Riptide.

Spire Sniping - (C/D/C)
In Azalea, Spire Sniping is one of the better arrows to draft. Even the blues are highly coveted just due to being able to select the better of the two cards to give dominate with her ability. The synergy of Spire Sniping with Riptide is minimal, but its still a slightly below average filler for Riptide.

Widowmaker - (C+/C/C+)
I’m sure somewhere out there in the realm of 3-0 draft decks, there exists an Azalea deck with 10 Widowmakers…but in all seriousness, this card is what makes Azalea draft decks so scary. All of the common equipment without blade break in this set have no block value printed on them, making it extremely difficult for opponents to reduce a dominated Widowmaker’s buff once they’ve run out of blade break equipment. The immunity to defense reacts is also relevant in this format, especially against Riptide and the assassin duo.

Withering Shot - (B-/C/C-)
Last but certainly not least, Withering Shot adds another powerful arrow to the Ranger’s arsenal. Frailty is the second best and most disruptive effect in limited, so this arrow will likely force out blocks against most opponents. A decent arrow that Azalea and Riptide can both use, this arrow is basically just a slightly powered down Infecting Shot that you’ll still want in your Ranger deck.
Wrapping Up
Rangers are quite similar to Assassins, in the sense that there is one hero in each class that can afford more generics in their deck than the other, while the other synergizes alot better with their class cards. Azalea and Arakni are somewhat similar in that both want to prioritize their respective class cards, while Uzuri and Riptide has more synergies with generic and hybrid cards in their decks.
While Azalea needs more specific cards to work, it can be easy to prioritize your picks since she only needs buff cards and arrows. While Riptide is more “open-ended”, you will need to learn what cards to prioritize in a Riptide draft is not always easy. But a general rule of thumb is that go again cards are really good in Riptide.
This wraps up the 3 main classes for Outsiders; next will be the Hybrid and Generic set reviews. As usual, always be coming in with 10 dominate!

Read the rest of the Reviews here:

Read my other Outsiders Limited Reviews here: